Introduction
I remember a late spring morning in 2019 when a short run of prototype housings failed on the first delivery — and we had to call every customer to explain a delay. In that workshop we relied on several batches of resin materials, mixed from different suppliers, and the variance showed up as brittle corners and warped lids. The data from that month still sticks with me: a 14% scrap rate across three designs, traced to inconsistent viscosity and incomplete post-curing. What could we have done differently to avoid that scramble? (I’ll get to the practical checks I use now.)
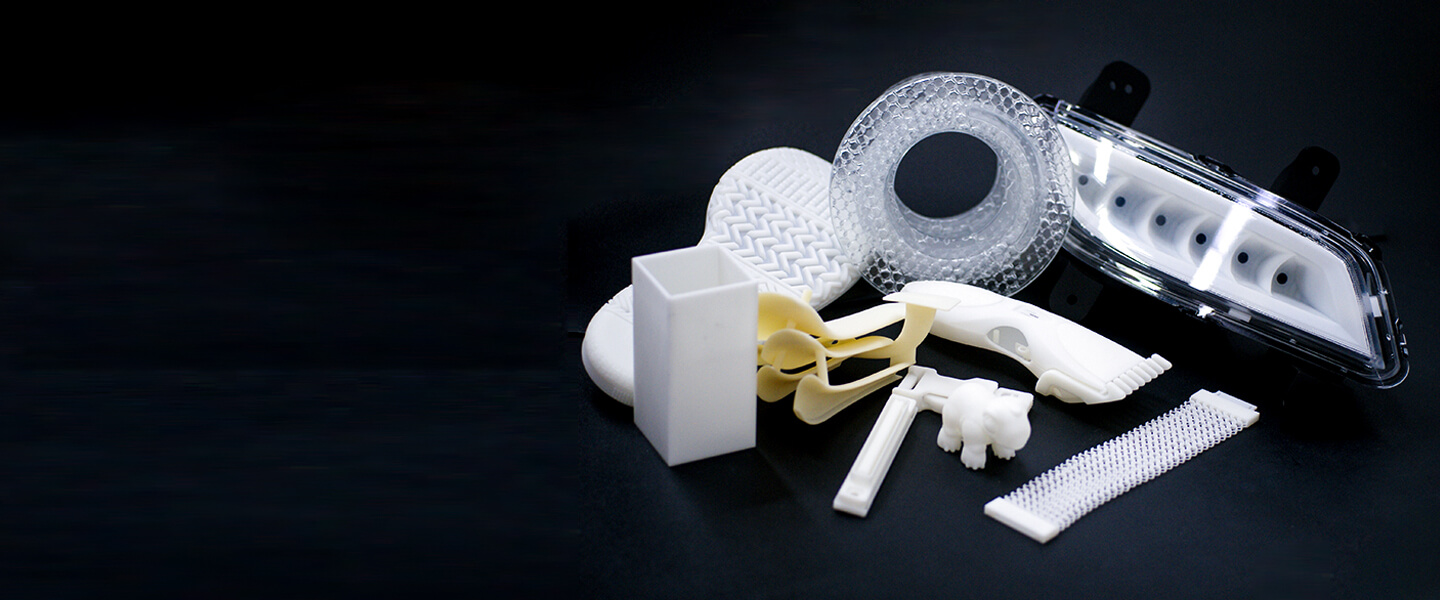
As someone with over 15 years working hands-on in additive manufacturing and supply consulting for small-scale production runs, I tell stories like this because they map to repeatable fixes. I want to share what I learned — not in theory, but with tools you can use the next time a batch goes sideways. The scene above is a simple one: suppliers, a shop in Brooklyn, a deadline, and materials that behaved unpredictably. That setup raises a question every shop faces: how do you choose and manage resins so your parts stay consistent across weeks and months? Read on, and I’ll walk through the practical faults I still see, the deeper technical causes, and what to test before you commit to a supplier — you’ll save hours, and possibly a customer relationship.
Where Common Solutions Fail: The Deeper Flaws
3d printing materials are often presented with glossy datasheets and ideal curing windows, but in practice those numbers live inside a narrow lab box — not your shop. I’ll be blunt: many failures trace back to two hidden issues — variable photopolymer batches and uncontrolled thermal conditions during post-curing. When I ran a 120-part run of gray dental molds in March 2021 (Brooklyn shop, Form-style desktop SLA unit), a single pallet of resin arrived 6% higher in viscosity. The result: poor layer adhesion and microscopic voids after UV cure. You might not notice at first, but tensile strength and dimensional accuracy drift — measurable changes that cost time and money.
Technical root causes include inconsistent photoinitiator concentration, pigment loading, and settled fillers in the resin vat. Those influence how the UV LED penetrates each layer and how well successive layers bond. I use simple checks now: a syringe viscosity reading, a quick color-homogeneity check, and a 10-mm test bar print that I weigh before and after a standard 30-minute post-cure. These checks add minutes — but they expose variance that’s invisible on paper. Trust me — this cut our scrap rate after a supplier change and tightened the tolerance window to under 0.5 mm for critical parts.
Why do parts still fail after printing?
Often it’s not the printer. It’s the interaction — resin chemistry, temperature swings, and user assumptions. Layer adhesion, resin vat contamination, and inadequate post-curing sequences combine to produce failures that look like printer errors but are material-driven. I keep a log: batch number, storage temp, and cure time. That log has saved me from repeats more than once.
Principles for Next-Gen Resin Workflows
Moving forward means adopting a few core principles that change how you evaluate a supplier and how you run a job. Start by demanding reproducible parameters: cured density, recommended exposure windows for your printer’s UV LED, safe storage temps, and a clear post-cure protocol. When I evaluated a new sla printing materials lineup last year for a small medical jig run, I asked for batch-level certificates and an exposure matrix tied to my machine’s wavelength. That simple ask revealed two suppliers who could not guarantee performance at 405 nm — and two who provided real test prints for my specific printer. That choice translated to fewer reprints, and — importantly — predictable surface finish across 200 units.
Here are the practical tech ideas I apply: control the resin vat temperature by keeping room temp within ±2°C; always run a 10-minute standard post-cure and measure shrinkage on a reference coupon; and limit open vat time to reduce oxygen inhibition. Those steps improve layer adhesion and reduce warping. I’ll add a note about support structures — design them for stress distribution, not just for removal. Small changes in support geometry can lower failure rates during post-curing. — sometimes the fix is mechanical, not chemical.
What to measure next
Before you sign a contract or stock a new resin, evaluate three metrics I rely on when advising clients: 1) Dimensional stability after 30 minutes of post-cure at the supplier’s recommended settings (expressed as percentage shrinkage); 2) Relative tensile strength measured on a small batch of standardized coupons; 3) Batch-to-batch viscosity variance across three lots. These are simple to run in a basic shop and reveal real-world behavior — not just lab claims.
To sum up: I’ve seen how small shops in Boston and suppliers in Shenzhen that ignored these checks paid through rework and late shipments. I prefer when clients test early and keep clear logs. If you adopt these evaluation metrics, you’ll reduce surprises. And yes — unexpected things still happen. But with a repeatable test suite and a supplier who shares batch data, you’ll be in a far better position to manage risk. For teams looking for reliable material partners, I often point them toward vendors who publish exposure matrices and support robust traceability. For those exploring options, check partners like UnionTech for documented material properties and support resources.